
How to Prepare a Canvas for Painting: A Beginner's Step-by-Step Guide
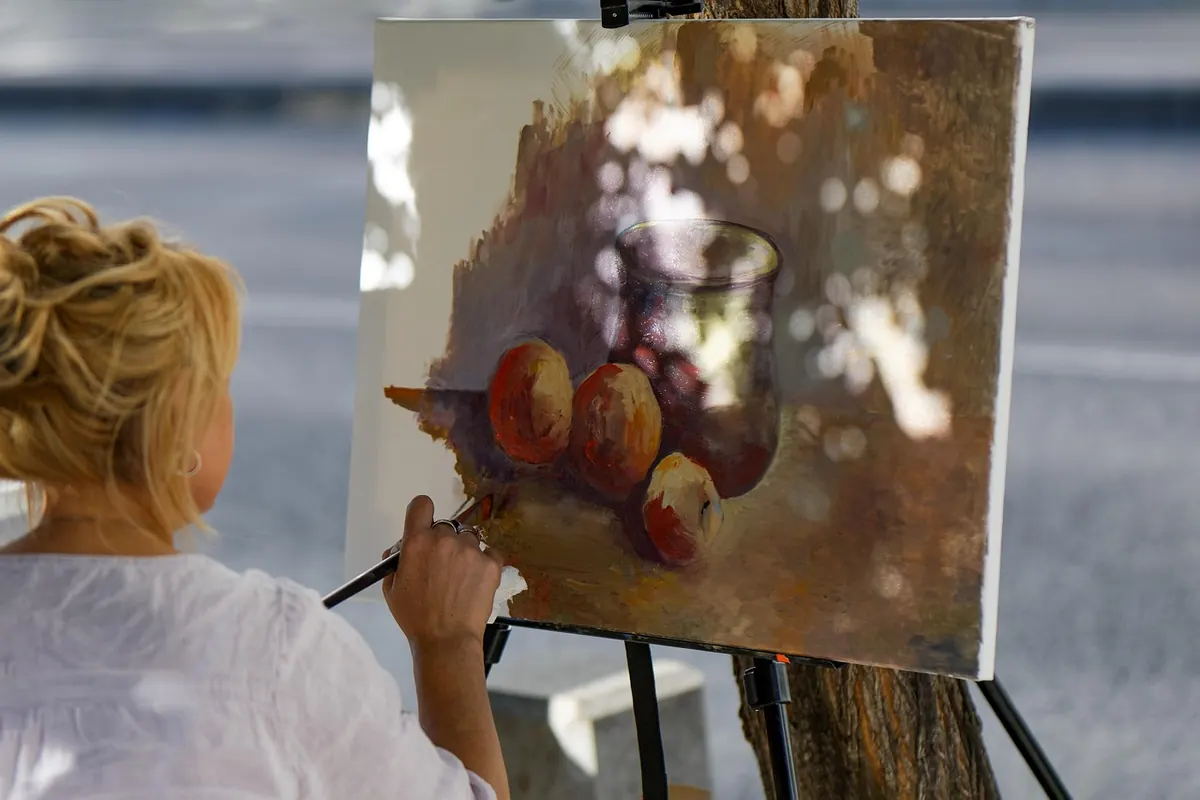
A shop-bought canvas looks ready to go. It usually isn't. Most pre-stretched cotton canvases are primed at the factory, but the coating is often thin, uneven, or still shows the weave of the cloth underneath. Paint applied straight onto that surface can sink in, drag, or turn patchy in a way that's almost impossible to fix later. Half an hour of preparation saves you a ruined painting, and it's genuinely simple work once you know the order of things.
What Priming Actually Does
Primer — usually called gesso, even though modern acrylic gesso isn't the chalk-and-glue mixture of the old masters — sits between the fabric and your paint. It does three jobs. It seals the canvas so oil doesn't rot the fibres over time. It gives the surface a slight tooth, so brush marks grip instead of sliding. And it creates an even, consistent colour and absorbency across the whole canvas, so your first layer of paint behaves the same in the middle as it does at the edges.
If you're painting with acrylics, a decent factory-primed canvas will usually do the job. If you're painting with oils, or you've bought a cheap canvas, or you're working on raw linen, a little extra preparation makes a real difference.
What You'll Need
- Acrylic gesso (white, or tinted if you prefer a coloured ground)
- A wide flat brush, a foam roller, or a plastic scraper
- Sandpaper in fine grits — 240, then 320 or 400
- A sanding block or a small offcut of wood to wrap the paper around
- A damp cloth or tack cloth for dust
- A dust mask if you're sanding much
- A jar of clean water if you're thinning acrylic gesso
Work somewhere with decent ventilation. Acrylic gesso is low-odour, but sanding dust is unpleasant and you don't want it settling on wet paint.
Step 1: Inspect the Canvas and Size It If Needed
Hold the canvas up to a window or a lamp. You're looking for thin patches where light comes through the weave, and for any slackness in the fabric. A canvas that flexes like a drum is fine; one that dips in the middle will pool your paint.
If the canvas is raw — unprimed cotton or linen — it needs sizing first. Rabbit-skin glue is the traditional choice; a thinned PVA size is the modern shortcut. Size seals the fibres so the gesso doesn't soak straight through, and, crucially, so oil paint never touches bare cloth. Let the size dry completely before you go near it with gesso.
Step 2: Sand Before You Prime
Take your 240-grit paper, wrap it around a block, and go over the primed surface with light, even strokes. You're not trying to remove the coating — just knocking back the raised bumps of the weave and any dried drips or brush ridges the factory left behind. Thirty seconds of gentle work is usually plenty.
Wipe the dust away with a barely damp cloth. If the surface feels fuzzy afterwards, you've sanded too hard and exposed the fabric; give it a thin coat of gesso to cover it again.
Step 3: Apply Gesso in Thin Coats
The single most common mistake is slapping on one thick layer to save time. Thick gesso dries unevenly, cracks, and leaves you with ridges that show through every subsequent layer of paint. Thin coats, built up, is the way.
- Stir the gesso rather than shaking it — shaking traps bubbles that dry into tiny craters.
- Load your brush or roller lightly and work in one direction, then cross-hatch the next coat the other way.
- Pull the brush off the edge of the canvas at the end of each stroke rather than lifting it, which stops a lip of gesso forming.
- Cover the sides and the turned edge too, so the canvas doesn't shrink unevenly against the stretcher.
Acrylic gesso can be thinned with a splash of water — roughly one part water to five parts gesso — to help it flow. Don't go beyond that; too much water weakens the binder and leaves a chalky surface that lifts when you paint over it.
Brush, roller or scraper?
A brush leaves visible texture, which some painters like for a lively surface and others find distracting. A foam roller gives the smoothest, most even result with the least effort. A plastic scraper pushed at a shallow angle gives an almost glassy finish and wastes very little gesso — useful for large canvases or fine detail work.
Step 4: Sand Between Coats
Once the first coat is dry to the touch — an hour or so in a warm room, longer in a cold or damp one — sand it lightly with 320 or 400 grit. You're removing nibs and levelling brush marks, nothing more. Wipe the dust off, then apply the next coat thinly.
Two to three thin coats will transform a cheap canvas. Sand between every one of them; skipping this step is why some prepared canvases still feel rough under the brush.
How Many Coats Do You Need?
It depends what you're painting with.
- Acrylics: one or two additional coats is usually plenty. Acrylic paint is flexible and forgiving, and a slightly absorbent surface can actually help the first layer grab.
- Oils: aim for three or more. Oil paint needs a fully sealed, non-absorbent ground, otherwise the canvas drinks the binder and leaves dull, sunken colour. Some oil painters add a thin layer of oil-based primer over acrylic gesso for a slicker surface.
- Raw linen or heavy cotton duck: add an extra coat or two. The weave is deeper and will show through fewer layers.
Test the finished surface by tilting it towards a lamp. It should look matte and even, with a faint tooth like the shell of an egg — not glossy, not chalky, and with no shiny patches where the gesso is thinner. Let it dry overnight before painting, even if it feels dry. Acrylic gesso cures rather than just drying, and oil paint laid over a still-curing ground is asking for trouble.
Things to Avoid
- Sanding through to bare fabric, which leaves a patch that soaks up paint differently.
- Painting oil directly onto unprimed canvas — it will eventually rot the cloth.
- Leaving dust on the surface, which gets trapped in your first paint layer.
- Applying gesso in a cold room; below about 10°C, acrylic won't form a proper film.
- Rolling a canvas to store it while the gesso is still soft.
Drying, Storing and the First Marks
Give a freshly primed canvas a full night in a dry room before you paint on it. Store it upright, face out, with nothing resting against the surface — a sheet of greaseproof paper across the front is fine if you're stacking several. Canvases kept flat for weeks can sag slightly, so stand them on their bottom edge once they're fully cured.
When you do start painting, work your first layer thinly and don't scrub at the surface. A well-prepared canvas feels different straight away: the brush glides, the colour stays where you put it, and the weave stays quiet instead of fighting your marks. Once you've done it a couple of times, the whole process takes twenty minutes — and it becomes the part of painting you actually look forward to.
Photo: Surprising_Media / Pixabay