
Wet-on-Wet Acrylic Techniques for Expressive Canvas Landscapes
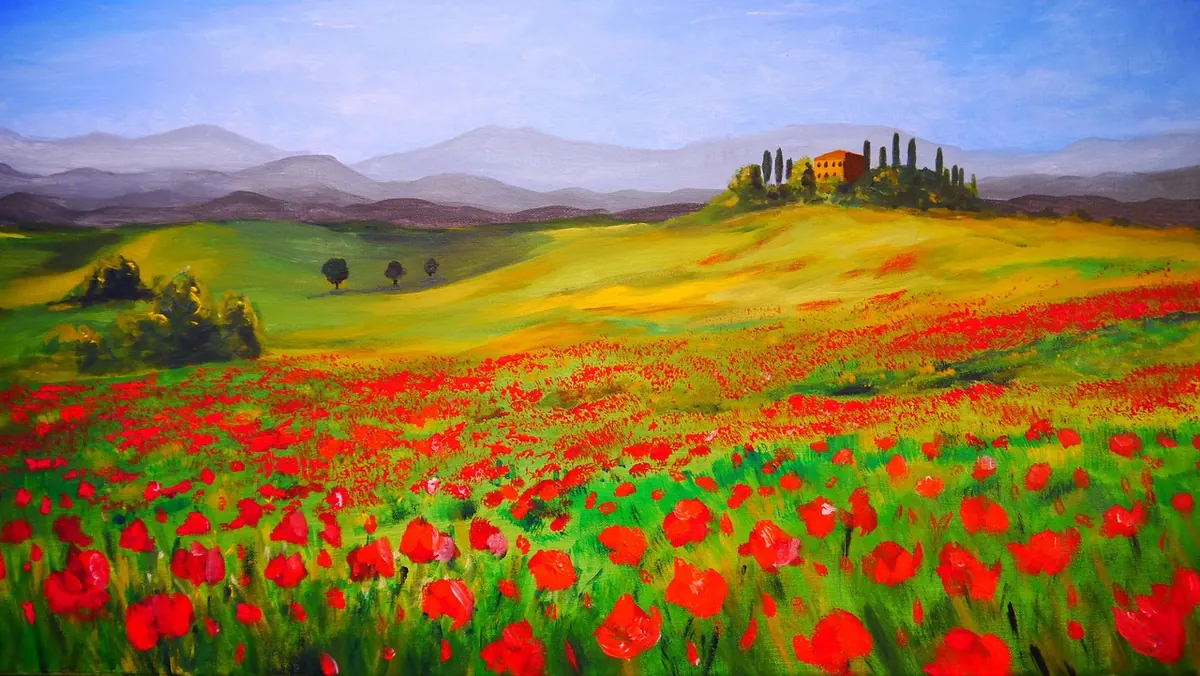
Wet-on-wet acrylics ask for nerve. You load a brush, sweep it into paint that is still tacky, and watch two colours settle into something softer than either. There is little time to think and no undo button. That is the appeal as much as the difficulty: a landscape painted this way keeps its atmosphere, because the atmosphere itself is painted wet into wet. Acrylics have a reputation for drying too fast to blend, but with a little preparation, and a firm idea of what you are painting, a loose landscape can be finished in a single session.
Why wet-on-wet suits landscapes
Distance in a landscape is mostly soft edges. Hills fade, trees blur into haze, water borrows its colour from everything above it. Paint on dry acrylic and every new stroke sits on top of the last with a hard edge, so blending means glazing and waiting. Work wet into wet and you can drag a distant ridge into the sky with three strokes of a dry brush.
The risk is mud. Each time you blend one colour into another, you lose a little saturation, and a wet surface keeps accepting paint. A hesitant painter can grind a clean green into grey within a minute. Most of the technique below is really about protecting colour while you blend it.
Setting up so the paint stays workable
Preparation does more for wet-on-wet acrylics than any clever brush trick. Before you squeeze out a single colour, sort the following.
- A stay-wet palette. A shallow tray with a damp sponge under greaseproof paper keeps mixes open for an hour or more, which matters when you need the same sky blue in three places.
- A spray bottle of clean water. Mist the canvas lightly before you start so the first strokes glide. Use a fine mist, never standing water, which beads on the surface and lifts paint underneath.
- A retarder or slow-drying medium. A few drops stirred into each puddle buys you minutes of blending time. Go easy: too much leaves the surface tacky for hours and slightly glossy.
- Big brushes. A 2.5 cm flat for skies, a worn filbert for hills and trees, a small round for trunks and accents. Thin, springy brushes encourage fiddling.
- A limited palette. Six colours is plenty: a warm and a cool blue, a warm and a cool red, a yellow, plus titanium white. Limiting choice keeps mixtures clean.
- A ground with some tooth. Cotton duck or a textured gesso holds a stroke better than a very smooth panel, where paint tends to skate.
Thin with water only for the initial sketch or a thin underpainting. Heavy dilution weakens the acrylic binder, so keep body in the paint where you want colour to stay rich.
Work from the top down
Sky first, then distance, then middle distance, then foreground. Working downwards lets overlap and drying order help you: a foreground shape laid over a tacky middle distance sits cleanly on top, whereas a foreground tree dropped into a glossy wet sky will smear into it.
Try to keep the whole canvas at roughly the same stage of wetness. If the sky is still shining when you want to start the foreground, either wait a minute or work the nearer shapes with thicker, drier paint so it stays put.
Blending without making mud
Two habits keep colour clean. First, blend only at the join between two shapes, not across the whole area. Second, make one pass and then leave it alone.
- Lay the two colours side by side while both are wet.
- Load one corner of a flat brush with colour A and the other corner with colour B.
- Stroke back and forth across the join, travelling only a few centimetres either side.
- Rinse and dry the brush. Stop. If it looks nearly right, it is right.
One pass of a dry brush across two wet colours gives you a soft edge. Four passes give you grey.
Brushwork for loose landscape shapes
Sky and cloud
Use horizontal strokes, angled slightly with the perspective of the view, and paint thinned to a creamy consistency. Drag cloud shadows sideways with a dry flat brush held almost parallel to the canvas. Leave more bare canvas near the horizon than you think you need; light belongs there.
Hills and trees
Push a ridge line into the wet sky, then pull down once to soften the base. Treat trees as masses first: one dark shape, then two or three lighter dabs on the sunlit side. A flat brush corner stamped repeatedly makes convincing foliage; a filbert twisted on the spot gives a rounded clump.
Water
Reflections are vertical, sky is horizontal. Pull short vertical strokes down from the horizon into wet water colour, then level them with one horizontal stroke. Crisp ripples come from a palette knife pulled sideways, or the flat edge of a brush with almost no paint on it.
Foreground
Save the thickest paint for the nearest ground. Scumble it on, scrape it back with a knife, spatter a little for gravel or seed heads. Dry-brushing over textured canvas suggests grass with very few marks. A single confident dark accent in the corner does more for depth than a hedge of detail.
Reading the paint as it sets
Wet acrylic passes through three useful stages. Glossy wet: colours merge freely and edges stay soft, but pushing smears. Tacky: a fingertip leaves a mark without lifting paint, which is the moment for dry-brush texture and crisp dark accents. Touch-dry: new strokes sit on top with hard edges, ideal for final highlights and thin trunks.
Remember that acrylics darken slightly as they dry. A blended sky a shade too saturated now will settle down in ten minutes, so err on the vivid side.
A one-session practice plan
Pick a simple subject — a flat horizon, a field, one tree, water — and set a timer for each stage so you cannot overwork any of it.
- Two minutes: sketch the horizon and main masses in thinned paint.
- Three minutes: mix three sky colours and a cloud shadow.
- Fifteen minutes: paint the sky wet into wet. Mist if it starts to grab.
- Ten minutes: drag distant hills into the still-wet sky.
- Ten minutes: water or middle distance, while the area above is tacky.
- Ten minutes: foreground masses with thicker paint. Then stop.
- Five minutes: accents only — a dark trunk, a light patch, a fence post.
If a passage turns muddy, wipe it back with a damp rag and start again; wet paint is reusable material, not a lost cause. Work the same view three times in three sittings and you will notice the blending decisions come faster, which is exactly what this method rewards.
Photo: PeterKraayvanger / Pixabay